
Last year, our church got a donation of an air hockey table, for use by the youth group. It was in nice shape, save for the electronic scoreboard, which wouldn’t keep score. It would light up and make sound when powered, but the score was stuck at “88” to “88.” We resolved to see if we could fix it.
The electronics were wrapped in a plastic banner that crossed the middle of the table, and had only a few wires running to it — one from a puck “catcher” on each side of the table, with a simple switch that was pressed when the puck was present, and one modified ethernet cable running to a small control panel that let you start a timer, or reset the game. Our initial hope was that it would just be a wiring problem, that Ben and I could fix together. It turned out to be much more complicated.
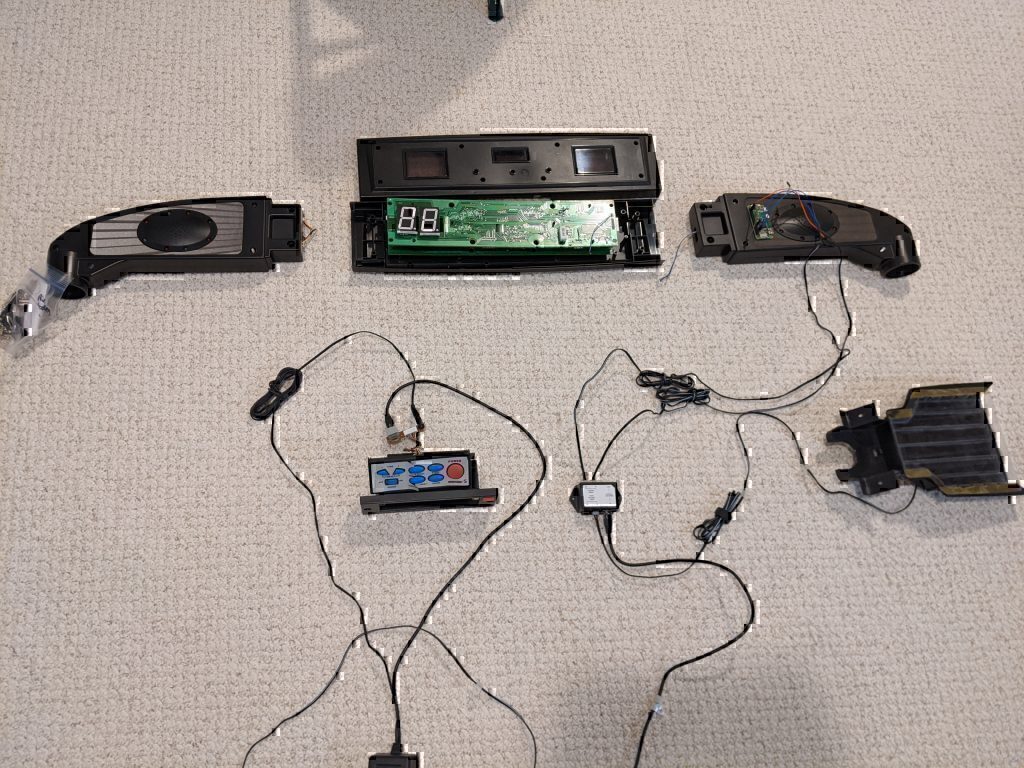
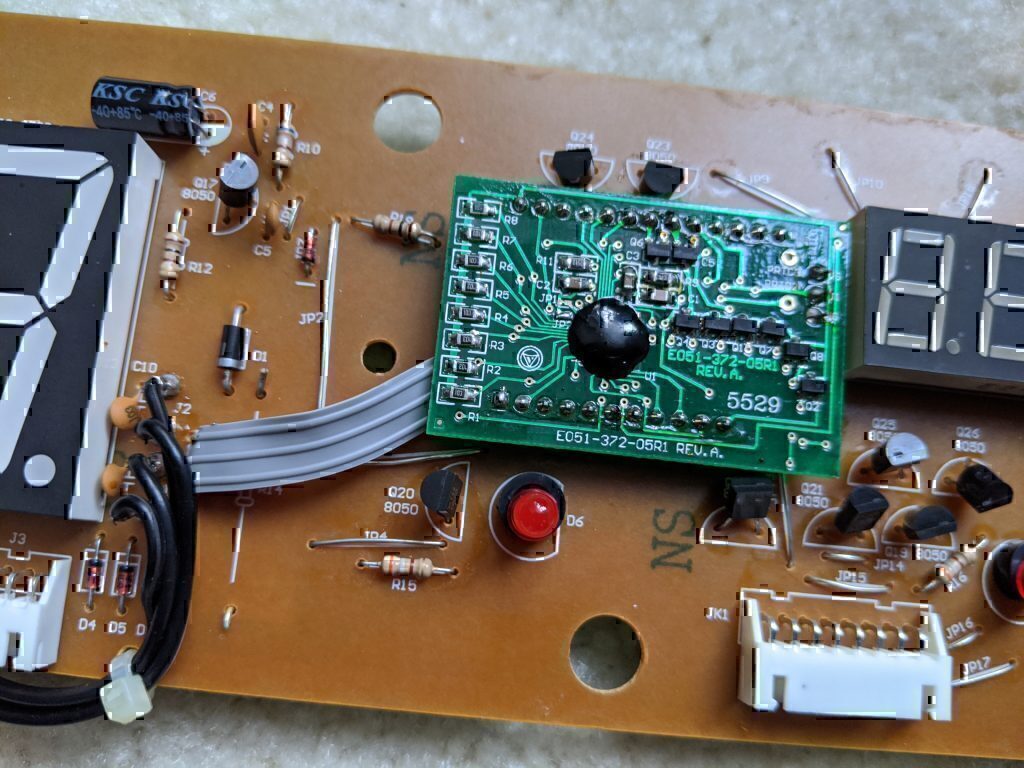
All the wiring was fine, and via various traces, ended up connected to a small logic board — this turned out to be the cause of the problem: it was dead. The board had a part number, but no amount of Internet searching could find a source for a replacement part. We theorized that the actual logic being performed was fairly simplistic, and that we might be able to replicate it with a Raspberry Pi Zero — roughly the same size, and equipped with sufficient GPIO pins to map to the existing wiring. Connecting the puck catchers was easy, and with a little Python code, we could count score and show it on a connected SSH Terminal. The control panel was a little more difficult, but we managed to find a solution for some of its basic functions. The remaining problem was the seven-segment LEDs that actually show the score.
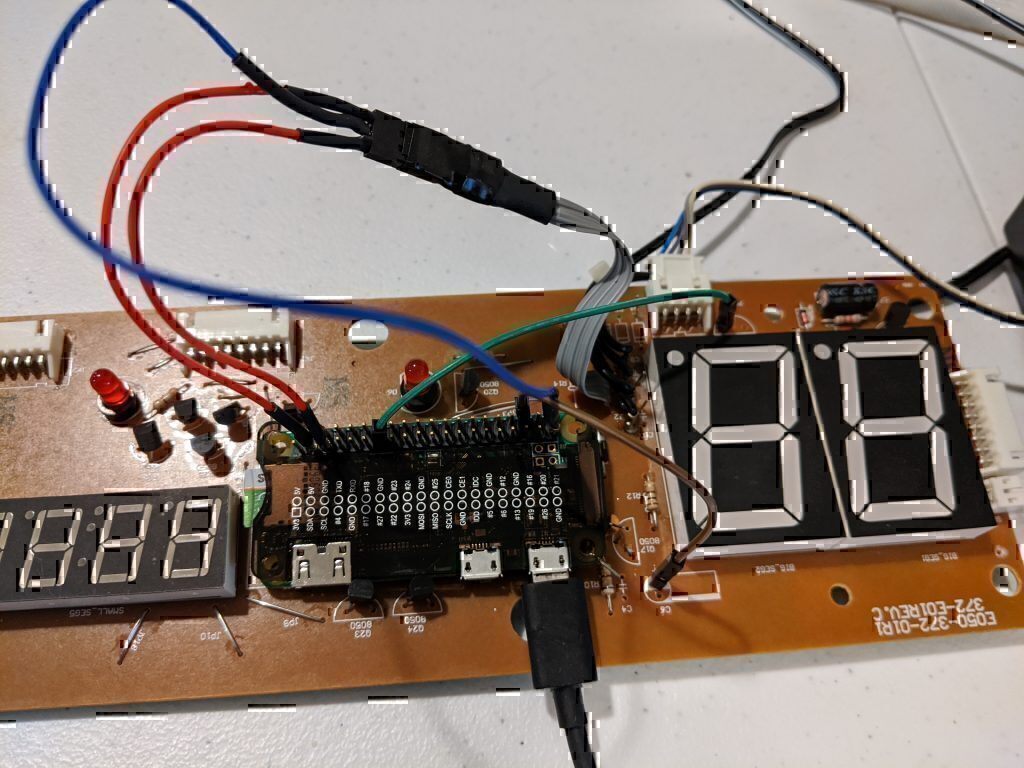
For those we called in some help from an engineering student we know, and managed to come up with the logic to light the LEDs by reverse engineering an array of bit values that could be toggled via the Pi’s GPIO. In theory it was going to be possible to restore displays, and 90% of the functionality of the system. In practice, it didn’t work out that way.
The seven-segment LEDs work in pairs-of-pairs: two LEDs for each player, and double that to mirror the value on the other side of the board. 4 LEDs, with 8 wires each makes for 32 tiny wires that needed to be run. Only half that needed to go the GPIO, since the other half were just mirrored values, but that’s still a lot of wiring — turns out there’s a reason most electronics use a printed circuit board. I briefly entertained designing such a board, and paying to have it printed, but we were still going to run into voltage problems. Once the LEDs were running, very little voltage remained in the little Pi for the blinking lights and buzzers that make the experience fun.
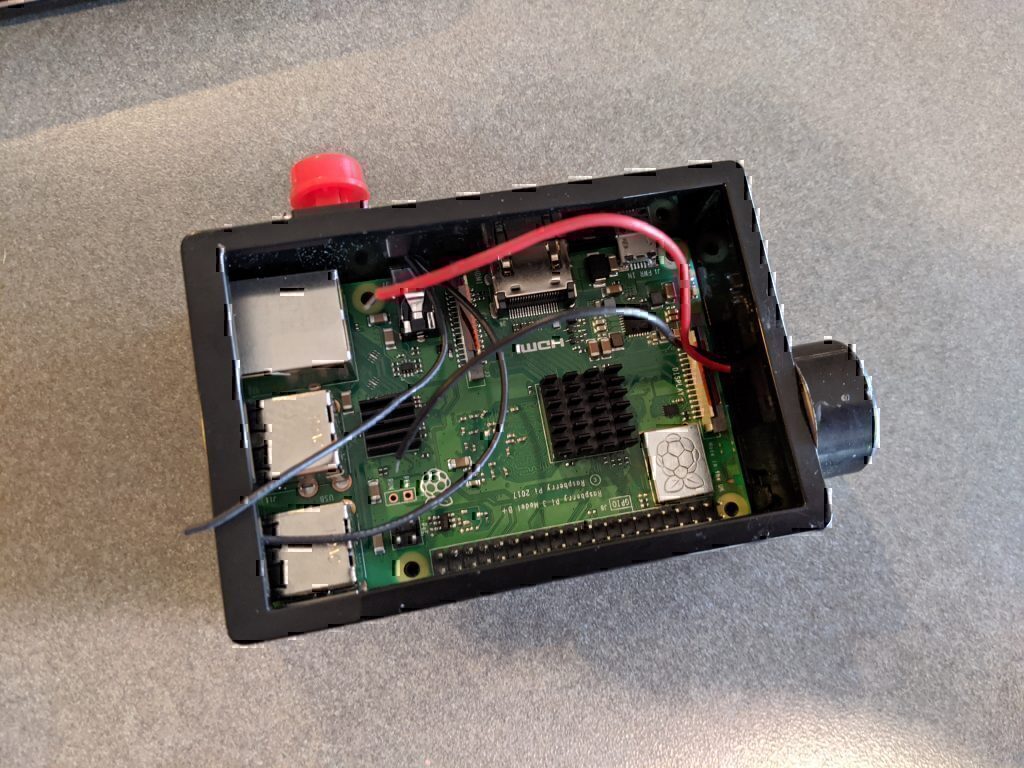
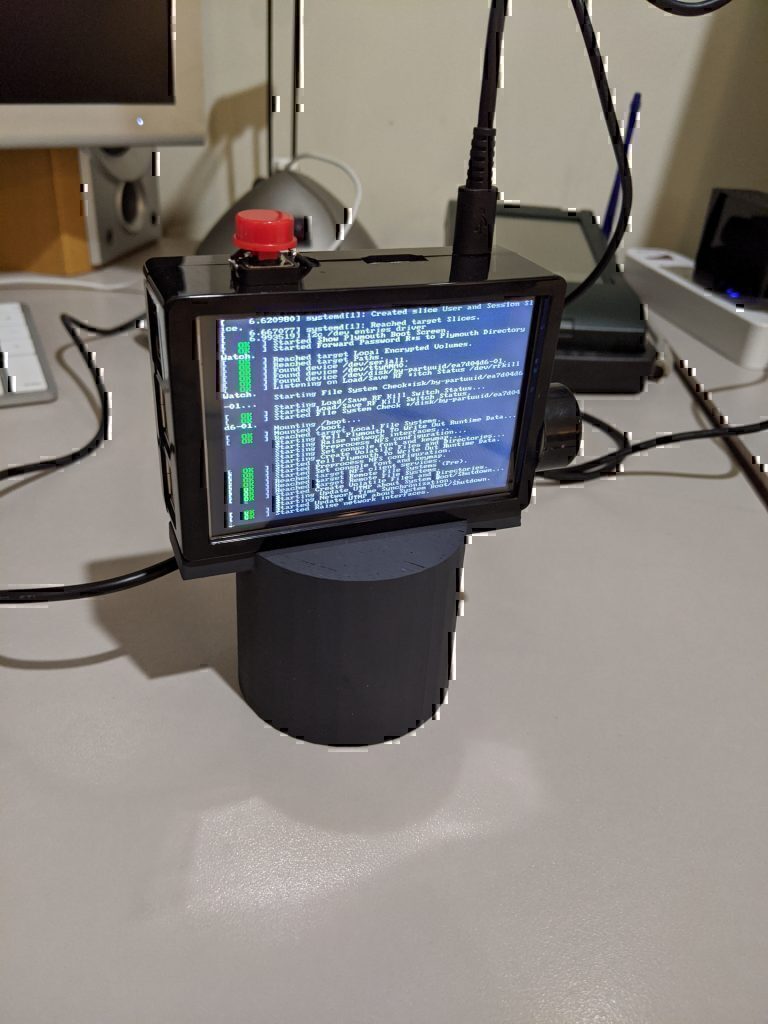
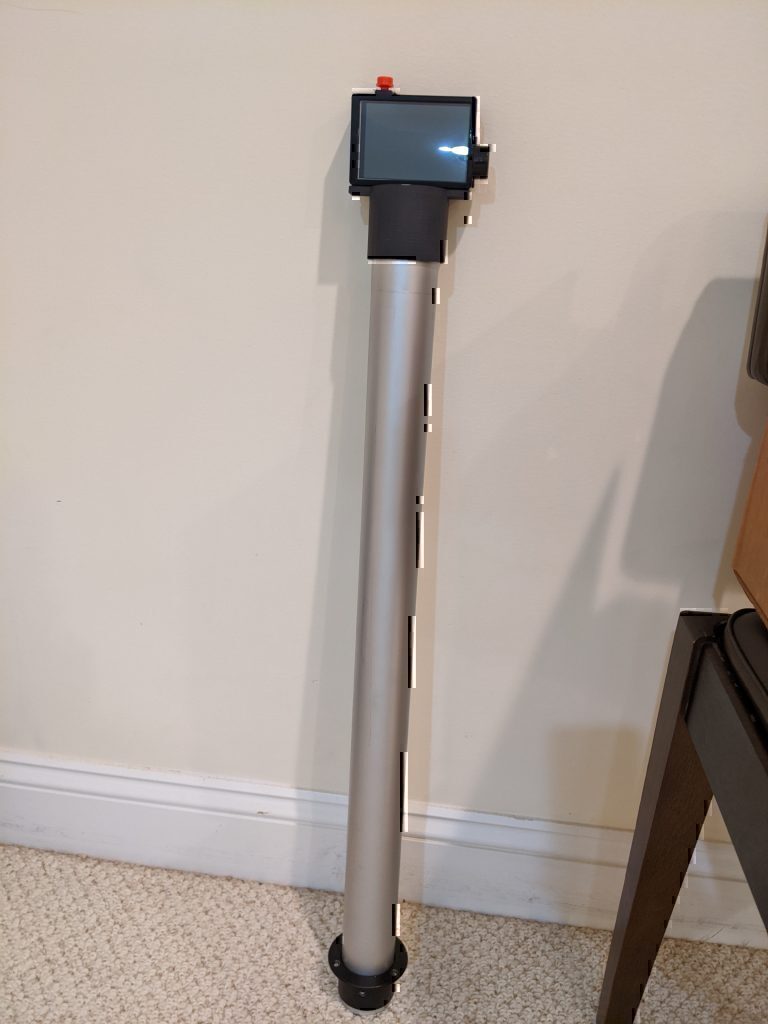

After literally months of soldering, brainstorming, and frequently ignoring the now very-messy project out of frustration, we decided to abandon the banner, and go all in on a Raspberry Pi 3B+ with an add-on display. The logic still worked fine for score-keeping, although I had to come up with a new routine for displaying the score in ASCII characters that filled the screen. The girls each composed a little ditty that gets bleated out by the buzzer when someone wins the game, and Ben designed a mounting shim and 3D printed it. We removed one of the two support poles for the scoreboard, and mounted the Pi to the other — neatly running the wires up the pole. I used plastic cement to attach a reset button and the buzzer to the side of the Pi’s case, providing the key features of the original control panel.
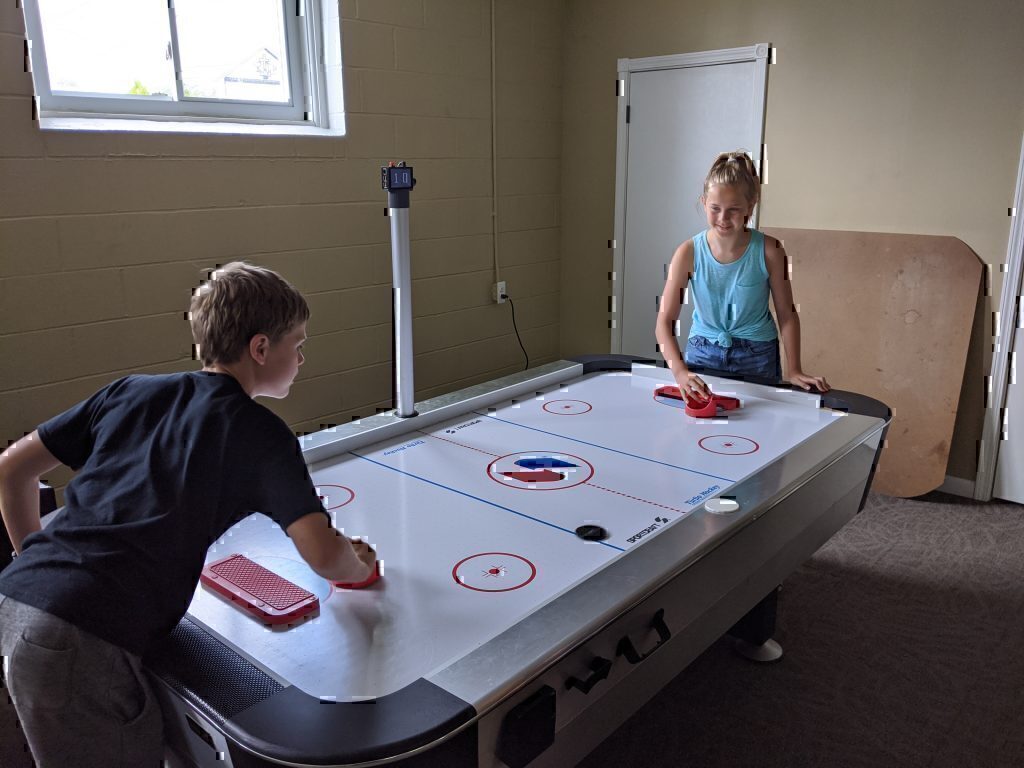
After a successful beta test, we refined the design and improved the crude graphics a little, then installed our new system in the Air Hockey table using most of the original wiring. Its not perfect, but its quite elegant — and I was pleased by how much we all learned putting it together.


Hi! I recently was able to obtain a free table exactly like this one, and the MCU is dead on mine as well.
Do you happen to have the notes/code that you guys tried to develop? I am trying to take a shot at restoring this myself.
We ended up just building our own with a Raspberry Pi: https://github.com/codepoet80/scoreboard
I’ll see if I can find my old notebook on it.