
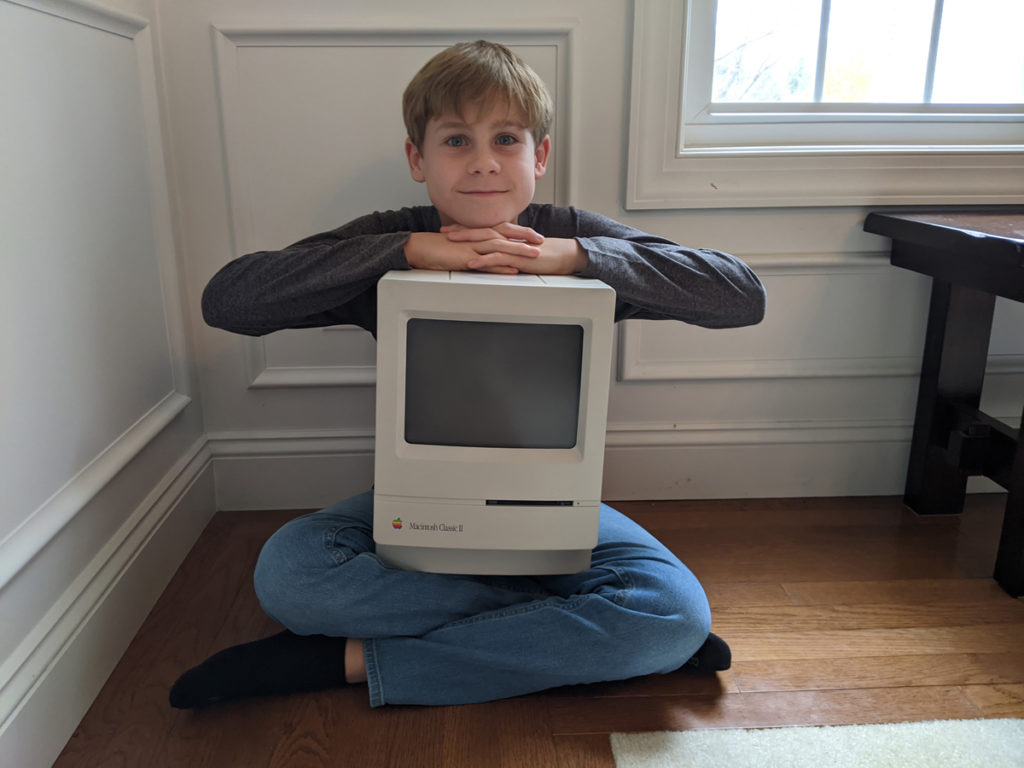
I normally only post these projects in their own separate little nerdy section of the website, but this one was special, ’cause my son had the lead…
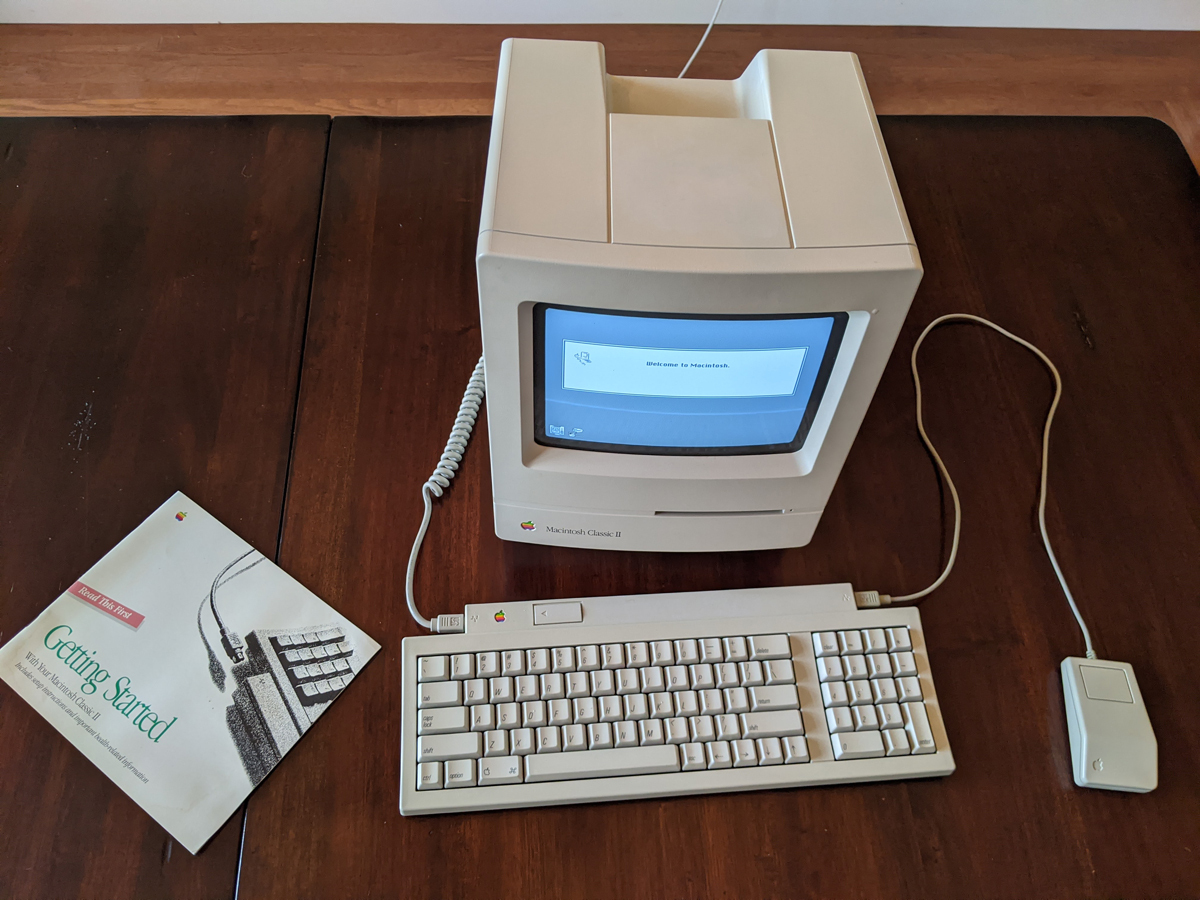
The Classic II was no one’s favorite Macintosh. A compromised system architecture (a 32-bit chip throttled by a 16-bit data path) made it a poor replacement for the now-legendary SE/30, it did find itself a niche as a low cost compact computer for education. That was the history of our Classic II: purchased from a retired teacher, who’d acquired it after it was retired from a classroom.
The cosmetic condition wasn’t well-disclosed on the Facebook Marketplace listing: previous attempts to remove the permanent marker identifying it as classroom computer “#30” had resulted in stripped finish and smeared marker on the top of the computer — which had been covered by a mis-matched off-white paint. The keyboard had similar markings, although without the attempt at removal.
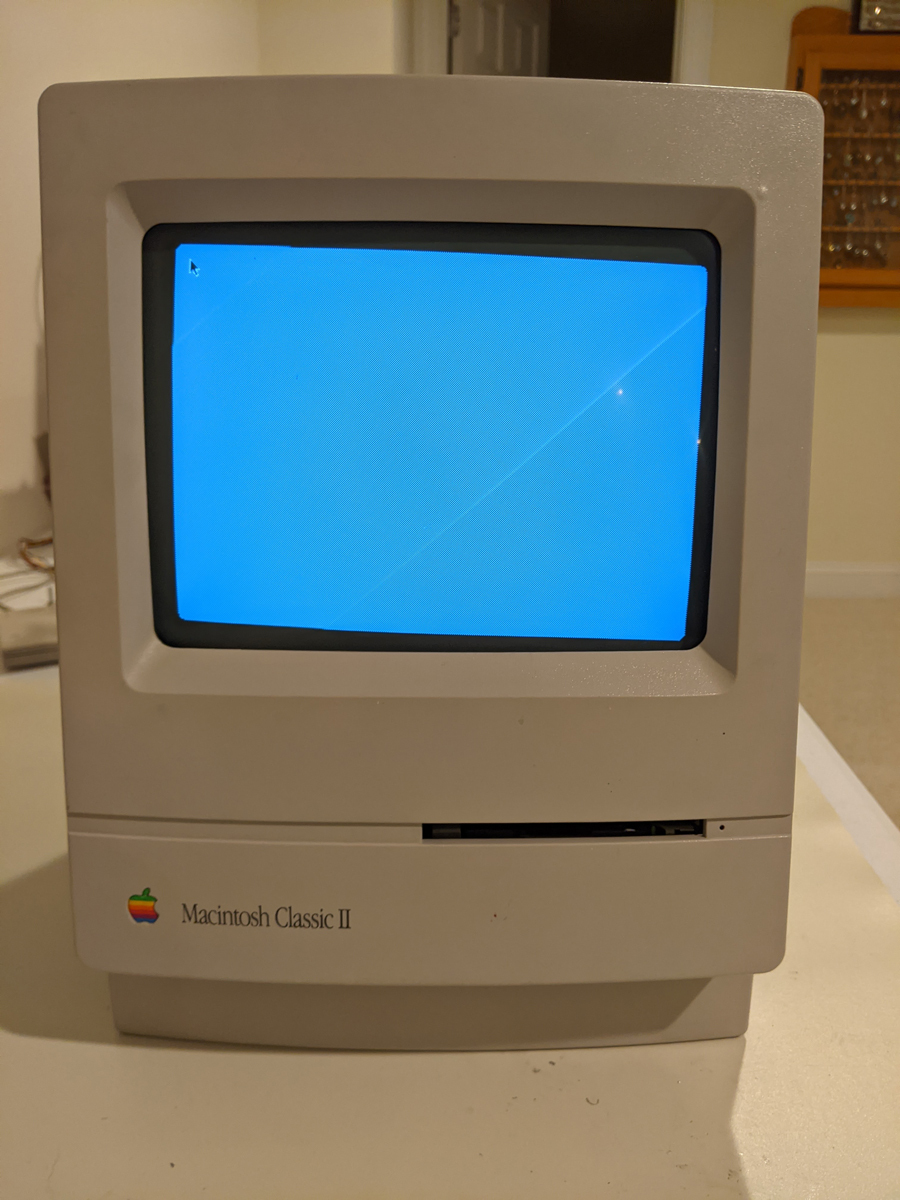
Cosmetics aside, the computer was also deader than advertised: “works as great today as it did 15 years ago!” bragged the listing… but powering it up did not include the happy chime (or even a sad one) and the display very slowly warmed up to a dim checkerboard pattern. Clearly this particular Mac needed some love. Given that I purchased it for only $60, and that only true fans would mourn its possible death, I decided this would be the perfect project for my son to go solo on.
I took care of the plastics, removing the paint with hot water followed by a baking soda scrub. The permanent marker mostly came off with a 50/50 mix of isopropyl and acetone. A dunk in a liquid peroxide 40v at a 20/80 mix with hot water and a few hours in the sun, and it came out looking pretty respectable — given its history.


Ben built an inventory of the through-hole capacitors on the analog board, which I double checked, and I identified most of the SMDs on the logic board. A trip to Mouser.com and a few days for shipping, and we had a box of new parts. It took the better part of two months, but after school every day Ben would de-solder 4 or 5 caps, then re-solder and mark the replacements. He did the whole analog board, with only a few touch-ups from me. One pad lifted on removing a stubborn cap, but did not break. We tested for continuity, then reinforced with hot glue.
Re-assembly is a pain on these old compact units — especially after a couple months during which we forgot exactly how it came apart! But we got it back together, ran a long extension cord to power strip in another room, crossed our fingers, and powered it on. When the circuit breaker did not trip, we peaked around the doorway and saw the screen bright and clear and booting happily from the old hard drive! At this point, I had cleaned, but we had not re-capped, the logic board, so we weren’t entirely surprised that there was still no happy chime, nor sound when triggered from the Control Panel. Off it went for another tear down.
Before starting the logic board, we practiced a hot air and solder paste technique on a junk board. While that went very smoothly in rehearsal, it did not work as well on the old Mac. The paste spread too far, and formed little bridge balls in undesirable areas. We decided to go with our more proven approach with traditional solder. Removing SMDs is nerve-wracking no matter how you do it, but I’ve had the most luck with cutting off the top and gently pulling the remains off their pins, before using heat to dispatch the remnants and clean the pads.
After taking lots of pictures, Ben patiently removed all of the old SMD caps, and replaced each with a tantalum cap. Some angles were difficult for our little lefty, and he cleverly came up with a sideways mounting approach (that I ultimately re-did with my right hand). After each grouping, we’d slide the logic board back in and re-test. After the second set, the happy chime was finally heard! Ben completed the remaining caps the next day, and he gave it a fresh OS install using my Floppy Emu — his first end-to-end restoration! Not bad for a 13-year old!
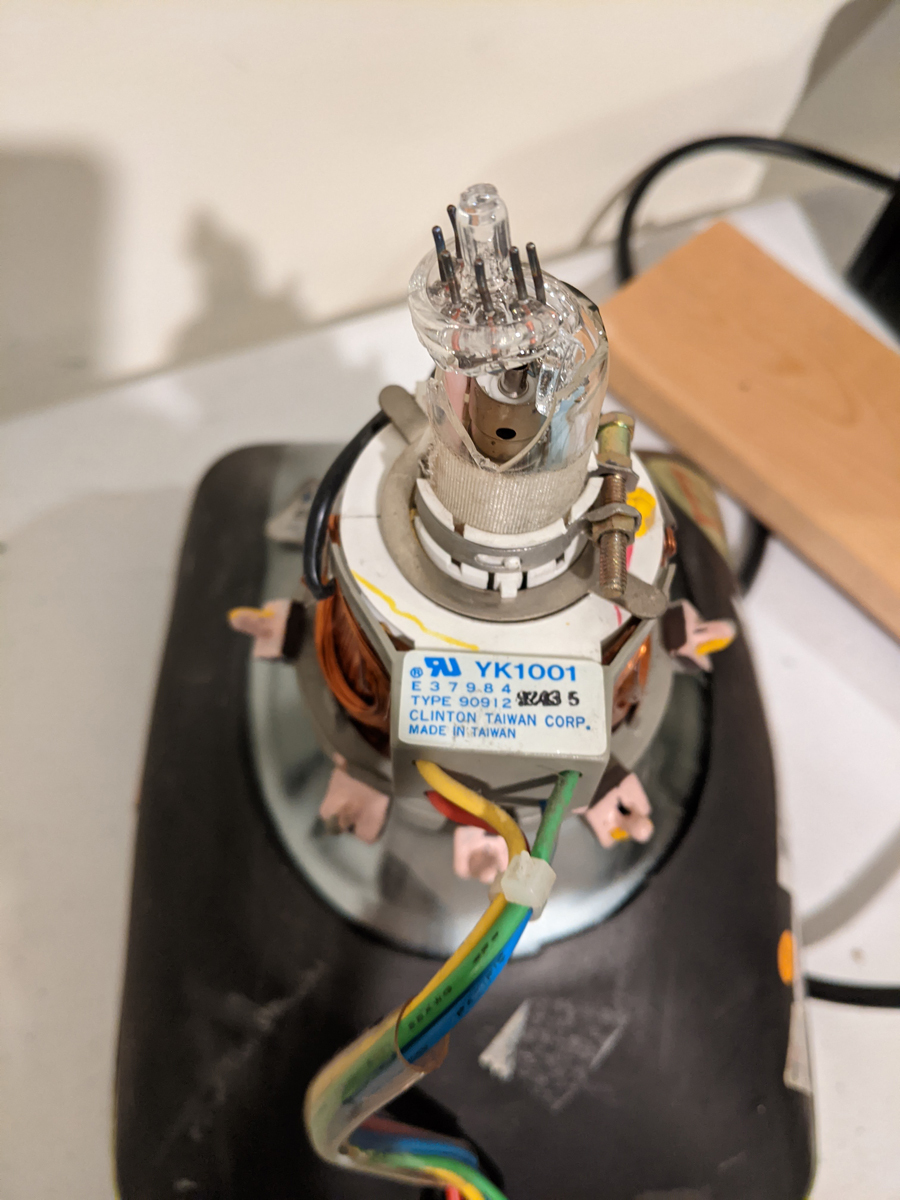
After he went to bed that night, I went to perform a few final adjustments, including the scary high-voltage tweaks to calibrate the display. As I removed the case, the insides slid unexpectedly and cracked the neck of the CRT’s vacuum tube. I was heart broken — there’s no repairing a vacuum seal! Fortunately, I have a couple spare-parts Macs in a closet, and after some advice from the nerds online, Nicole and I discovered that the CRTs can be swapped — as long as the yoke connector is (very carefully) ported over to the doner. There remains a small amount of bowing in the bottom right corner that we don’t recall having seen on previous power-ups: possibly the tube, possible that we didn’t mount the yoke connector with exact precision. Given how close we got to perfection, despite all its been through — and the risk associated with fragile high voltage electronics, we decided to call it a win.
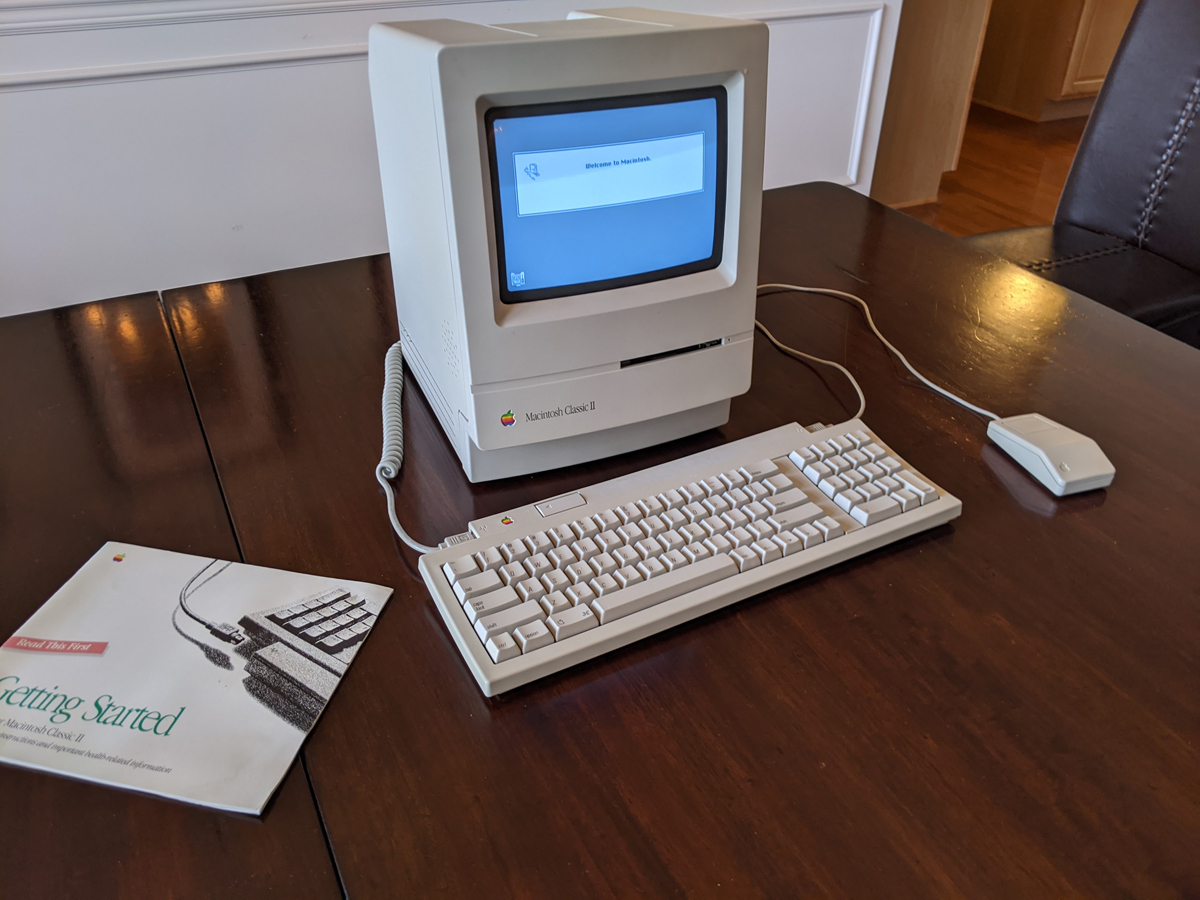
I offered to sell the Mac and let Ben keep the profit — including about $14 worth of capacitors, the spare CRT, and about $10 to replace a missing keyboard cable, we spent less than $100 on this restoration. It could likely sell fairly quickly for $150-200 — not a bad flip for a 13-year old. But he’s opted, at least for now, to have it in his room. We don’t allow Internet-capable devices in bedrooms, but a 29 year-old Mac is fairly safe — and he’s certainly entitled to have it in a place of pride!
Note: This post is available in Portuguese at Macnarama.com


2 thoughts on “Mac Classic II”